One primary feature of CTC Admin is the ability to update device files over the air (OTA), which is achieved through a job. A job can have multiple tasks (files), and you can add more after the job has initially been created. To add a job using the Provisioning module's new Jobs 2.0 screen, you have two options: duplicating (and modifying) an existing job or creating a new one from scratch. Both methods are covered below, in separate sections.
Skip down to "Duplicating a Job" if you are duplicating an existing job.
Note: You also can add a new job via the Devices screen, which entails your first selecting all the devices it will apply to and then creating the job itself. See Updating Devices Over the Air Using the Jobs Feature for details.
Adding an Entirely New Job
To create a completely new job from the ground up, follow these steps:
- Make sure that you are logged in to the account in which you want to place the new job. (See Switching Accounts for details on how to change the account you are viewing.)
- Click
 on the left sidebar menu.
- Click Jobs 2.0 on the flyout menu that appears.
The Jobs 2.0 screen will open and display the My Jobs tab (unless you were previously on the All Jobs tab during this CTC Admin session).

- Click Add New at the top right of the screen.
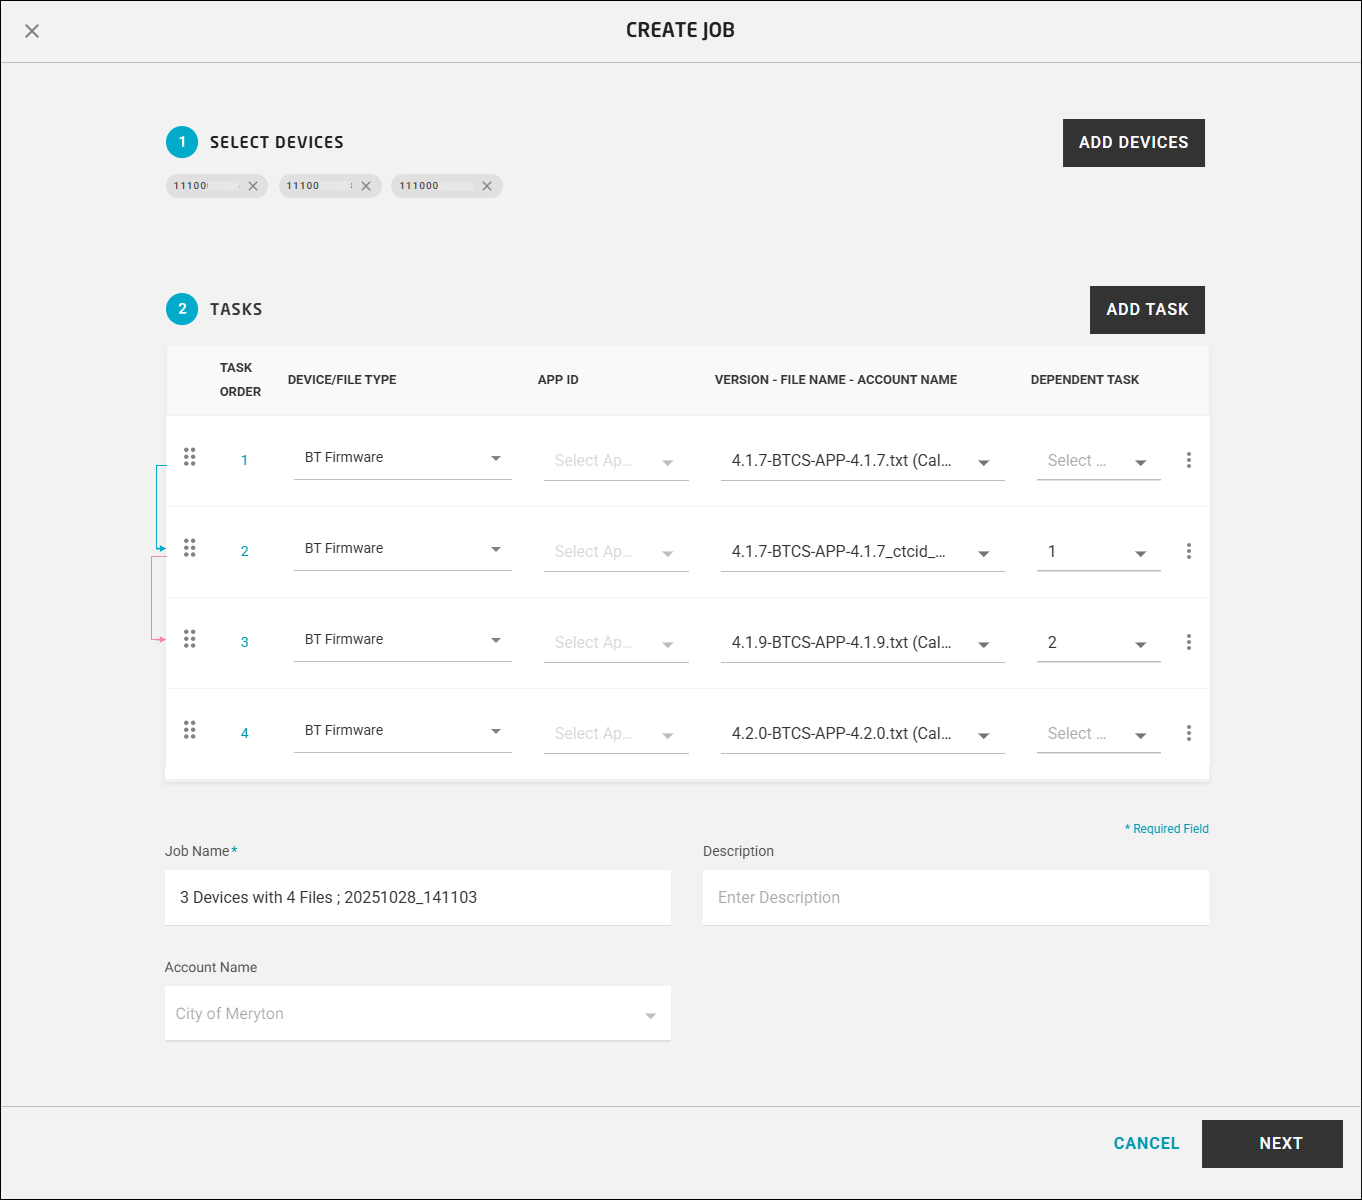
The Create Job dialog box will appear.

- To add the devices the job applies to, click Add Devices at the top right, and in the Devices dialog box that will be displayed, follow these steps:

Note: The available devices are those assigned to the account you are logged in to — and, if the View Subaccounts toggle is selected, its child accounts. (Again, see Switching Accounts for details on how to change the account.)- Locate the rows of the devices the job will affect.
If necessary, you can use the Search feature to find them, as shown in Searching for Devices.
- Select the check boxes of the devices.
- Click Done.
You'll be returned to the Create Job dialog box.
- Locate the rows of the devices the job will affect.
- Click the Device Type/File Type, App ID, and Version - File Name - Account Name drop-down arrows and make the needed selections for the first task in the job.
- You can add a second task (and more tasks) by clicking Add Task and repeating step 6 for its row.
- If any of the tasks are dependent on another, meaning that the task requires the first task to be completed before it can be performed, you can click and drag the lower task to the higher one (or click the Dependent Task drop-down arrow in its row and select the number of the higher task).
Connected tasks will have an arrow, showing that the lower task is dependent on the higher one.
Note: If you added a task dependency by mistake, you can remove it by clicking in its row and selecting Remove Dependency.
 - To change the priority order of a task, click in its row and then select Move Up (to move it higher in the priority list) or Move Down (to move it down).
Note: You can delete a task by clicking on the overflow menu.
 - You can add more tasks for the job (and assign dependencies) by repeating steps 7 to 9.
- In the Job Name field, select the default text provided (such as "115 Devices with 2 Files") and type the name you would like to use for the job.
- Optionally, you can type a short description in the Description field.
The Account Name field will be grayed out, as the new job will be placed in the account you are logged in to.
- Click Next.
CTC Admin will check to see if the job you are creating has devices that are involved in an existing job with the same file types.
If it detects any conflicts, a warning will appear, providing the number of devices, their file types, and choices to resolve the issues. (See How Does Job Conflict Resolution Work? for details.)
If no conflicts are detected, the following will be displayed:
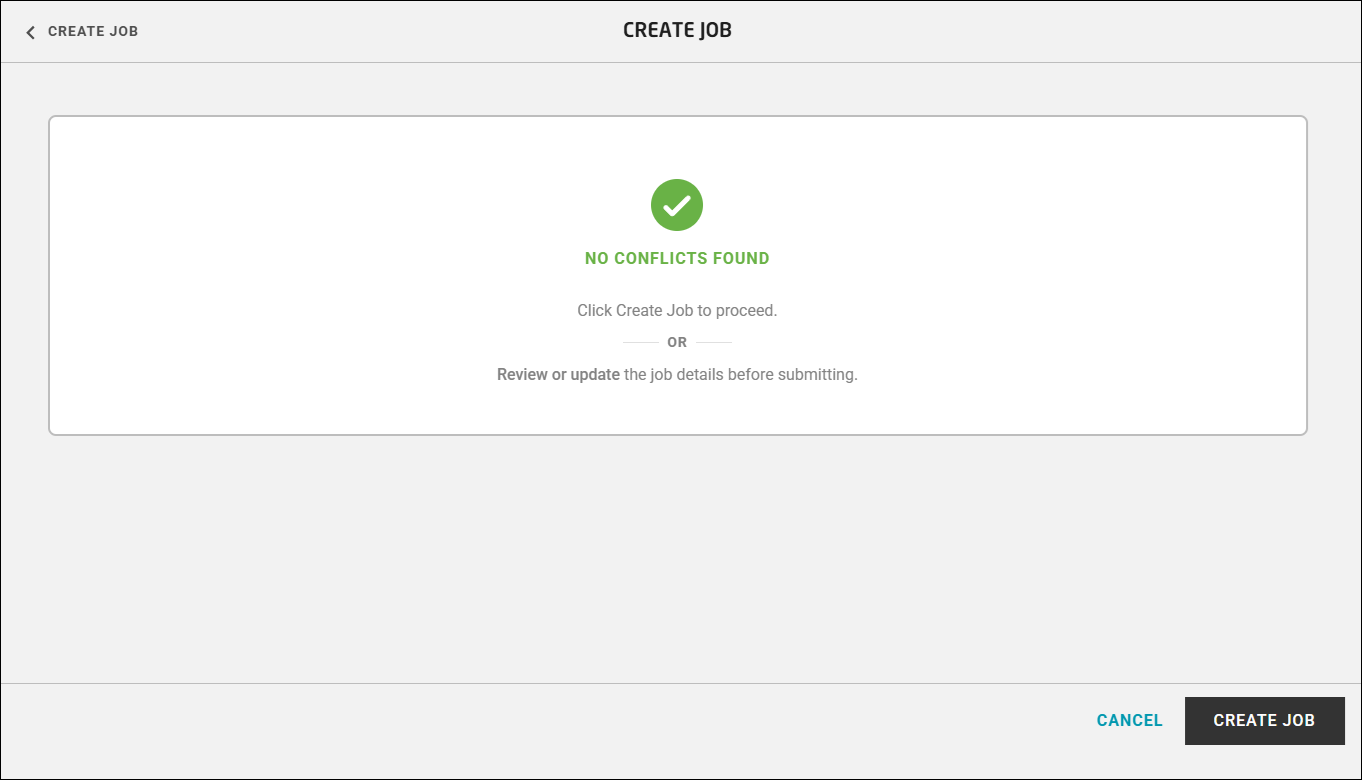
- Click Create Job.
Duplicating a Job
To add a job by cloning an existing one, follow these steps:
- Make sure that you are logged in to the account in which you want to place the new job. (See Switching Accounts for details on how to change the account you are viewing.)
- Click on the left sidebar menu.
- Click Jobs 2.0 on the flyout menu that appears.
The Jobs 2.0 screen will open and display the My Jobs tab (unless you were previously on the All Jobs tab during this CTC Admin session).
- Locate the job you want to duplicate (selecting the My Jobs or All Jobs tab as needed, and/or perhaps using the Search Jobs field).
- Click in the job's row and then select Clone on the menu that appears.
The Create Job dialog box will appear.

All the devices the original was created for will be selected.
- You can add additional devices by following step 5 in the preceding section.
Note: The devices that are already selected won't appear as such in the Devices grid, so you won't be able to remove any. - To make changes to the tasks or add new ones, follow steps 6 to 9 in the preceding section.
- In the Job Name field, select the name of the original job and type a different name for the duplicated job (in order to differentiate between the two).
- Optionally, you can replace the text in the Description field with a new description.
The Account Name field will be grayed out, as the new job will be placed in the account you are logged in to.
- Click Next.
CTC Admin will check to see if the job you are creating has devices that are involved in an existing job with the same file types.
If it detects any conflicts, a warning will appear, providing the number of devices, their file types, and choices to resolve the issues. (See How Does Job Conflict Resolution Work? for details.)
If no conflicts are detected, the following will be displayed:
- Click Create Job.